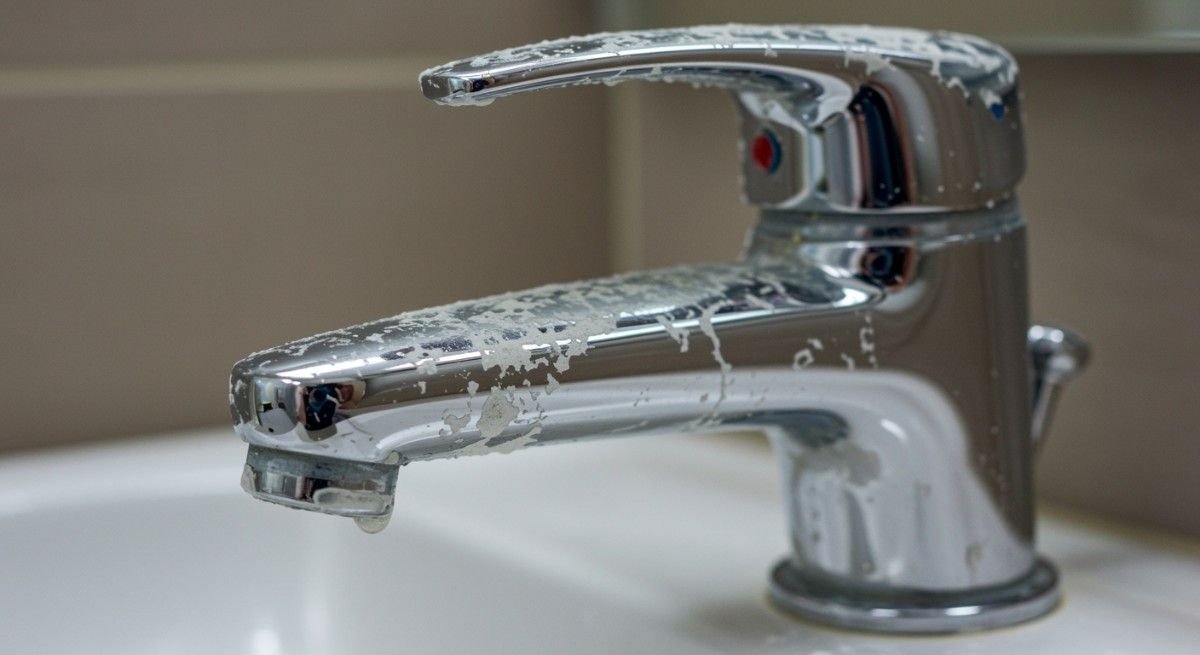
We’ve all been there: that relentless drip, drip, drip echoing through your house, especially late at night when all you want to do is sleep. I had a faucet in my bathroom that wouldn’t stop leaking, no matter what I did. I tried the usual tricks of tapping it, turning it harder but nothing worked.
After way too many sleepless nights, I decided it was time to tackle the problem head-on. And guess what? Fixing a leaky faucet turned out to be a lot easier than I thought! Let’s walk through how you can fix that leaky faucet, save water, and restore peace and quiet to your home.
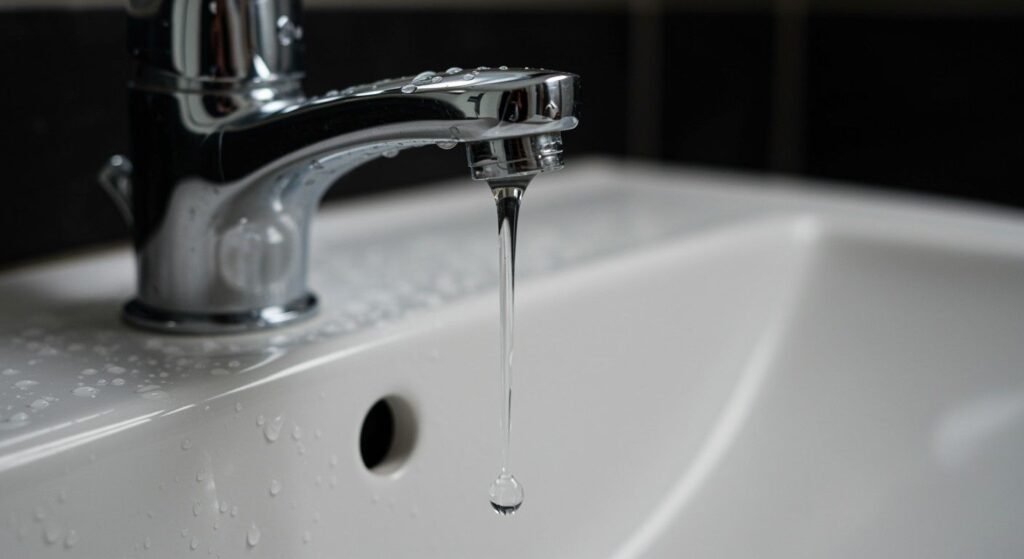
What Causes a Leaky Faucet?
Before diving into how to fix a leaky faucet, it’s important to understand what’s causing the issue. Most leaks come from worn-out washers, O-rings, or seals that can’t create a tight seal anymore. This means water is able to leak through the faucet, no matter how much you tighten it.
Whether you’ve got a compression faucet, a cartridge faucet, or a ceramic disc faucet, they all have components that can wear out over time, leading to that annoying drip.
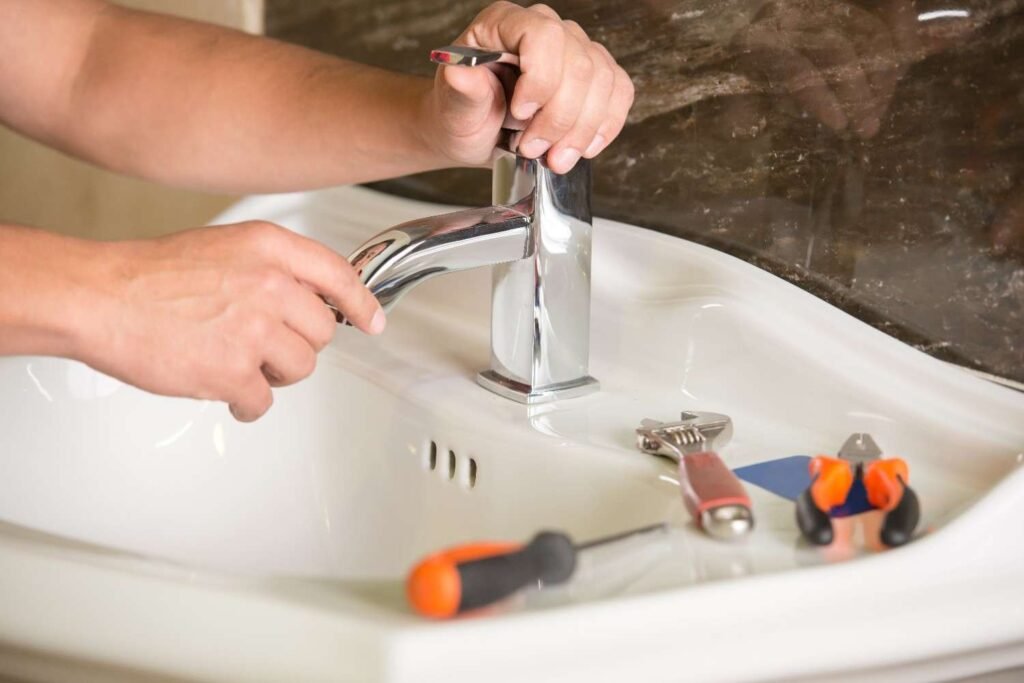
How to Fix a Leaky Faucet: Step-by-Step Guide
Let’s get into the main deal, follow these steps to quickly repair your faucet:
Essential Preparation
The first thing you want to do is make sure you’re prepared before you start working on the faucet. You don’t want to end up with a flood in your kitchen or bathroom, so let’s get the basics out of the way.
- Shut Off Water: Locate the shut-off valves under the sink and turn them clockwise. If they’re stuck, turn off the main water supply to the house.
- Drain the Lines: Open the faucet handles to release any remaining water and pressure in the pipes.
- Protect the Drain: Cover the sink or use a towel to protect the drain. This way, you won’t lose any small parts like screws or washers down the drain.
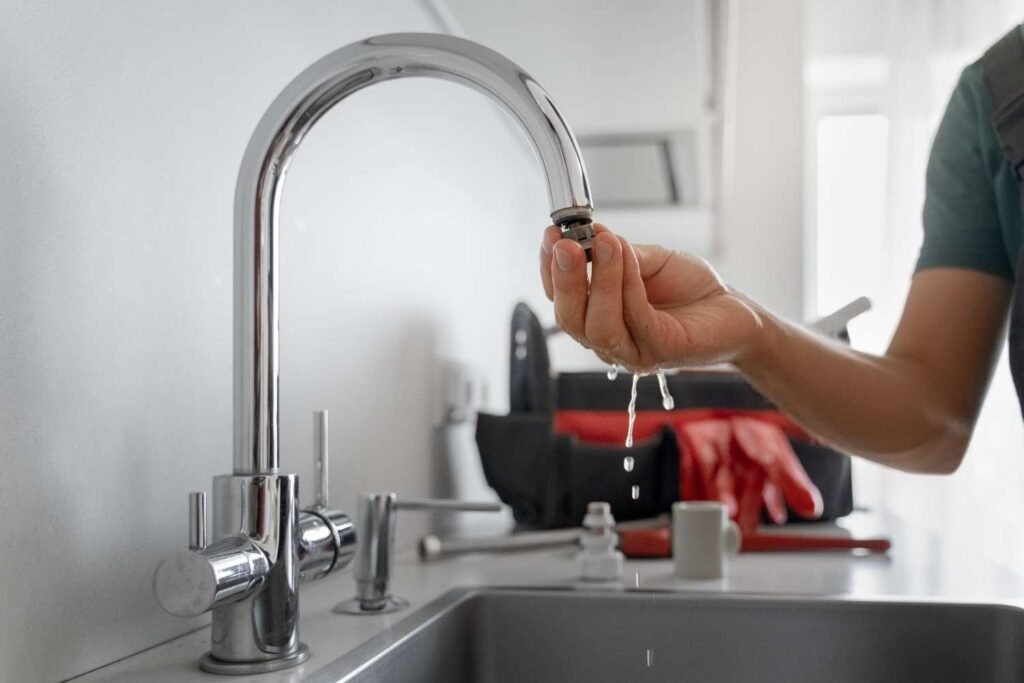
Identify Your Faucet Type
Before you start unscrewing things, you need to know what type of faucet you’re working with. Different faucets have different mechanisms, so understanding your faucet type will make it easier to fix.
- Compression Faucets: These faucets usually have two handles (hot and cold) and require several turns to stop the water.
- Ball Faucets: A single handle that rotates over a rounded, dome-shaped cap.
- Cartridge Faucets: Can have one or two handles; they usually have a smooth, consistent movement.
- Ceramic Disc Faucets: These are single-handle faucets that move up/down and side-to-side.
Knowing your faucet type will make the repair process smoother, so take a quick look before diving into the repair.
How to Fix a Leaky Faucet by Type
Now comes the fun part: fixing the leak. Here’s how to tackle it based on the type of faucet you have.
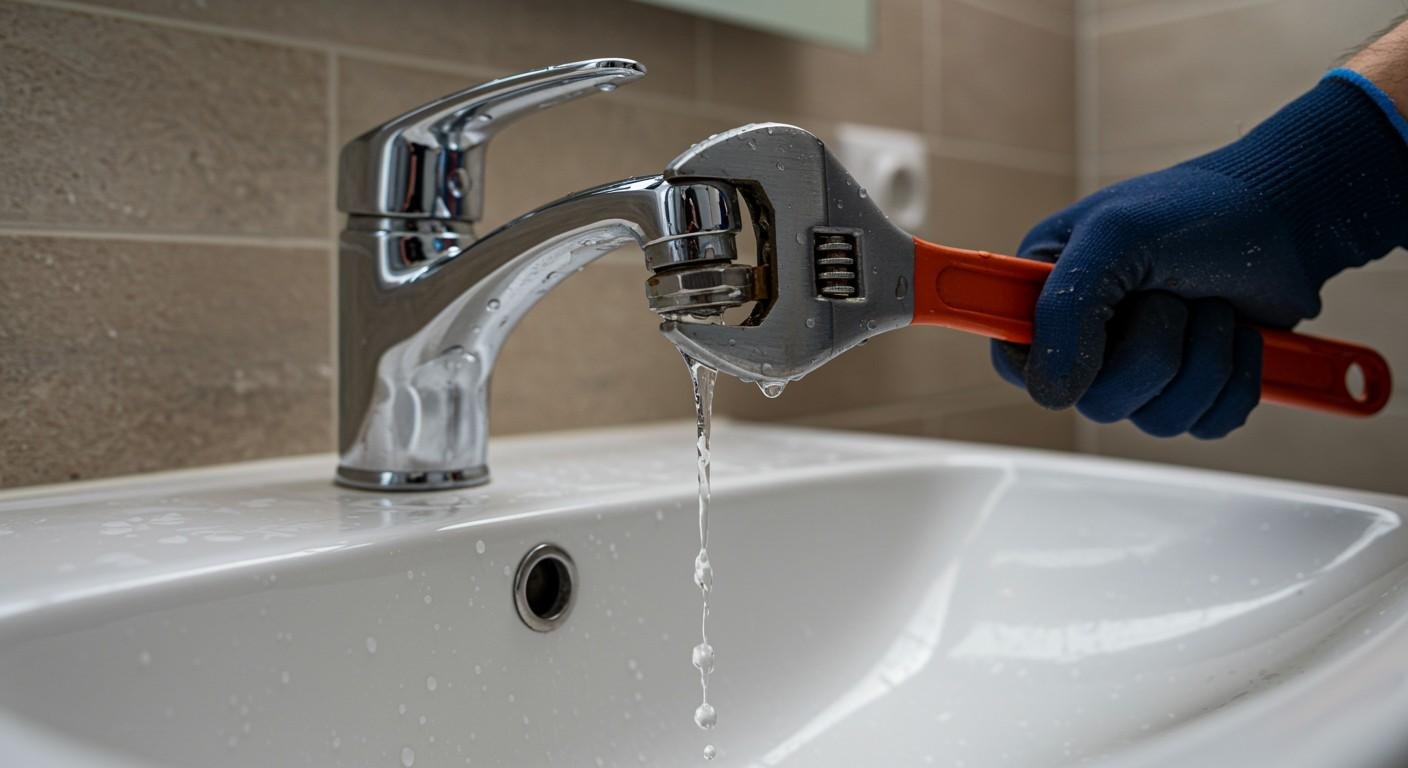
Compression Faucets
- Remove Handle: Pry off the decorative cap, unscrew the handle screw, and pull the handle off.
- Remove Stem: Use a wrench to unscrew the packing nut and lift out the valve stem.
- Replace Washer: Unscrew the brass screw at the bottom of the stem to replace the rubber seat washer.
- Replace O-ring: If the leak is near the handle, replace the small rubber O-ring on the stem.
Ball Faucets
- Disassemble: Remove the handle screw and lift off the handle. Use pliers to remove the cap and collar.
- Remove Components: Use a special tool (often included in repair kits) to lift out the cam, washer, and ball.
- Replace Seals: Use needle-nose pliers to remove the small rubber seats and springs from the faucet body, replacing them with new ones.
Cartridge and Ceramic Disc Faucets
- Expose Cartridge: Remove the handle and any retaining clips or nuts holding the cartridge in place.
- Replace Entire Unit: Most experts recommend replacing the entire cartridge or disc cylinder, as these parts are often sealed, making repairs more challenging than replacing the whole unit.
- Pro Tip: Take the old part to a hardware store like Home Depot to ensure you’re getting the exact match for your faucet model.
Reassembly and Testing of the Repaired Faucet
Once the new parts are in place, it’s time to put everything back together.
- Clean Parts: Before reassembling, to remove hard water deposits from the parts soak them in white vinegar to clear the buildup. This helps ensure that your new parts will fit smoothly.
- Lubricate: Apply a thin layer of plumber’s grease to new O-rings or washers for a better seal and to prevent future wear.
- Turn Water On Slowly: Gradually reopen the water supply valves to avoid damaging new parts with sudden high pressure. Check the faucet for leaks, and if all goes well, you should be good to go!
Frequently Asked Questions
Q1. How do I know if I need to replace my faucet?
If you’ve tried replacing the washers or seals and the faucet still leaks, it could be time to replace the entire faucet. Continuous leaking could indicate more serious internal damage that may require a complete replacement.
Q2. Why does my faucet keep dripping even after replacing the washer?
If your faucet continues to drip after replacing the washer, the problem may lie with the valve seat or O-ring. These parts can wear down over time as well, so replacing them is often the next step in stopping the drip.
Q3. Can I use any replacement parts, or do I need the exact match?
Always use the exact replacement parts for your faucet model. To prevent damage to the faucet and further leaks, be careful of using mismatched parts. Bring the old part with you to the store for the best match.
Q4. How long does it take to fix a leaky faucet?
Most people can fix a leaky faucet in under an hour, especially if the issue is a simple washer or O-ring replacement. The process might take a bit longer if the faucet needs more extensive repairs, like replacing the cartridge.
The Leak-Free Victory Is Yours!
And there you have it—how to fix a leaky faucet is no longer a mystery, and you’ve saved both water and money in the process! While it might seem intimidating at first, repairing a faucet is a straightforward task that anyone can handle. Whether you’re replacing a washer, fixing a cartridge, or switching out O-rings, you can easily do it yourself with just a few tools and a little patience.
Next time that annoying drip starts driving you crazy, you’ll know exactly what to do. Plus, you’ll get the added satisfaction of knowing you figured out how to fix a leaky faucet all on your own. Who knew being a DIY plumber could feel so rewarding?